For instructions on how to configure a portable WiFi (MiFi) device for Cellular Data access, please refer to the relevant guide below -
Mobal Devices
Click here for additional instructions
Our WiFi products utilize a cloud-based service and so a physical SIM card is not needed to access our standard 100GB, 200GB or 300GB WiFi plans.
To begin using the WiFi service in Japan however, you will be required to submit an activation request by following the instructions found here: Activation Guide
For instructions on how to connect to the WiFi network, please refer to the relevant product section below -
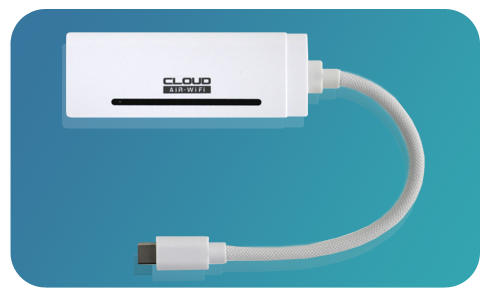
Mobal WiFi Stick (Air Stick)
Click here for more information
WiFi Internet Access:
Please note that this product must be connected to a power source at all times while it is being used for internet access in Japan.
You could connect it directly to a device such as a laptop (and it will receive power from this device) or you can connect the WiFi device to a separate power source such as a "Power Bank" for example.
This WiFi product utilizes a "USB Type-C" cable / port but a Conversion Adapter (USB Type-C to Type-A) will also be included.
Once the device is connected to a power source (and the LED is showing a solid light), you can then access the internet directly from the connected device (if it's a suitable device) and you can also connect other devices (up to 8) to the network via WiFi.
To connect via WiFi, simply scan for the WiFi network on another device and then enter the required password.
The "SSID" (i.e. the name of the WiFi network) and the password for accessing the network can be found on the back of the device.
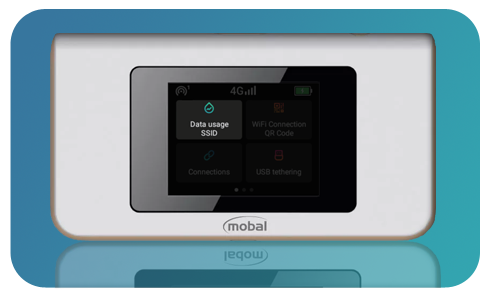
White Mobal WiFi Device (Air-1)
Click here for more information
Internet Access:
Simply connect another device directly to the unit via USB (and enable the "USB Tethering" feature from the on-screen menu) or you can connect to the network via WiFi from another device.
To connect via WiFi, go through the on screen menu on the device and locate the "WiFi Connection QR Code" option) to scan the code.
Alternatively, you can tap on the "Data Usage SSID" option to locate the SSID (i.e. the name of the WiFi network) and the password for accessing the network. You would then scan for the WiFi network on another device and enter the password shown in this section when prompted.
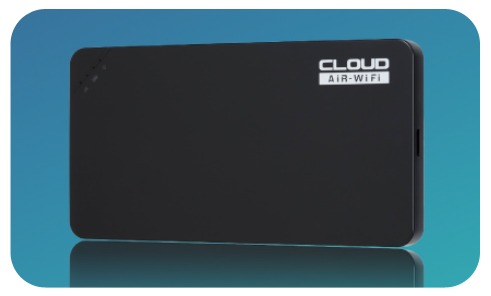
Black Mobal WiFi Device (U3)
Click here for more information
Internet Access:
Once the WiFi unit is switched on and it has fully connected to the network, internet access should be available within Japan.
Simply connect another device directly to the unit or connect to the network via WiFi from another device (by scanning for the WiFi network on another device and then entering the required password).
The "SSID" (i.e. the name of the WiFi network) and the password for accessing the network can be found on the back of the device.
Non-Mobal Devices
Click here for additional instructions
If you have installed a Mobal Data-Only SIM Card in a portable WiFi (MiFi) device that you purchased from another company, you may be required to configure the APN (Access Point Name) profile using the settings below:
APN: ppsim.jp
Username: pp@sim
Password: jpn
MCC: 440
MNC: 03
Authentication Type: PAP or CHAP
If your device only allows you to enter APN / Username / Password and there are no sections to enter the additional settings (such as the MCC, MNC or Authentication Type), you can skip these settings and just enter what your device allows you to.
On the majority of portable WiFi (MiFi) devices, you would configure the APN by accessing the admin site:
- Open a web browser on a device you have connected to the MiFi network and enter the relevant IP address in the address bar (For example on a laptop, open Internet Explorer and enter 192.168.1.1 in the address bar).
- If prompted enter the admin username and password for your device.
- Access the “Settings” menu to find the “APN” (Access Point Name) section and then enter the required settings shown above.
If you are using a device that has a built-in screen (for easy navigation of the options / settings on your device) however, you may be able to access the “Settings” menu this way instead and then locate the section to enter the required APN settings.
Additional Note: The instructions above are generic and are provided as a basic guide only. You may need to refer to the user manual for your specific device if the instructions above do not apply.
If this article didn’t help, head back to the home page to see other solutions OR submit a support ticket using the button below.